
How Hydraulic Cylinders Are Manufactured (Plain-English Step-By-Step)
This page explains the real manufacturing sequence, from specification and machining through honing, sealing, assembly and pressure testing. Use it to understand lead times, costs, quality checkpoints, and why cylinders leak, drift or fail early when the build steps are rushed.
Want the bigger reference hub? See the Hydraulic Cylinder Manufacturing Guide.
Quick answer
On this page
Use this table to jump straight to the stage you need.

1) Step-by-step: how hydraulic cylinders are made
Methods vary by design (welded, tie-rod, telescopic), but the same manufacturing logic applies. This is the sequence used in most professional builds.
- Confirm the specification. Define bore, rod, stroke, mounts, ports, working pressure, duty cycle, environment and oil type. This prevents wrong materials or seal choices later.
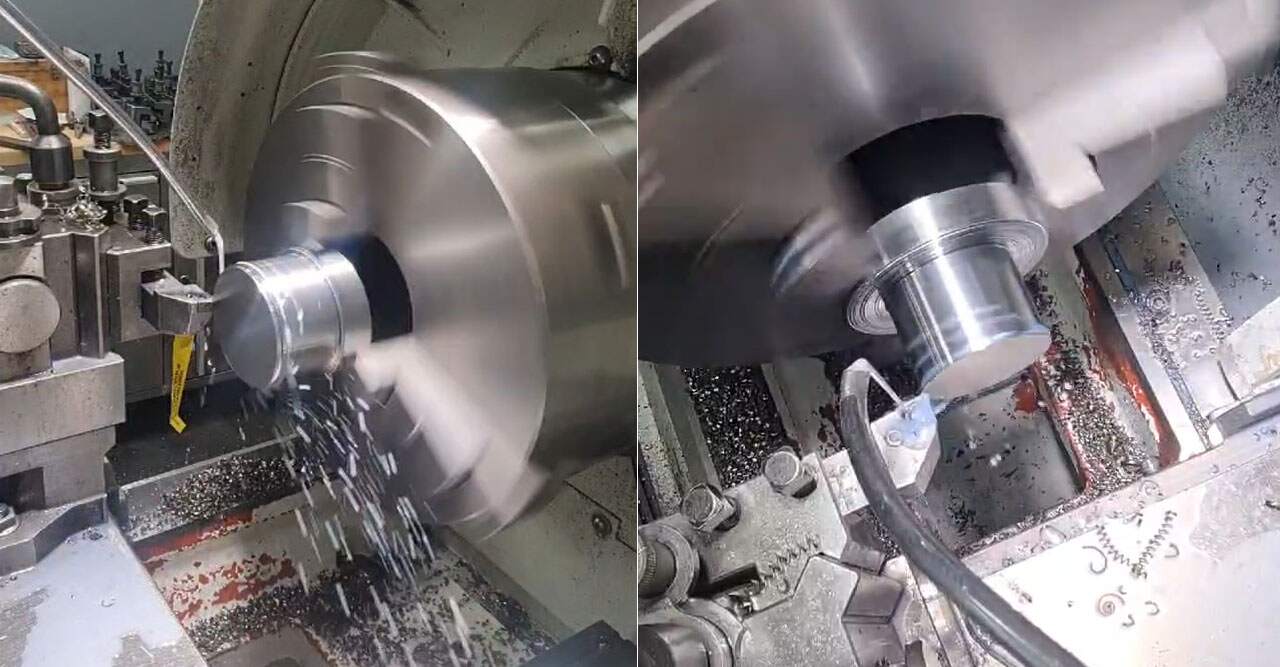
- Prepare the barrel. Cut to length, machine end interfaces, port features and threads. The barrel is then prepared internally for sealing performance.
- Finish the bore (commonly honing). Honing corrects geometry and creates a controlled surface finish so seals bed in properly, run cooler, and maintain pressure without premature wear.
- Machine the rod. Turn, grind and finish the rod to the specified diameter and surface condition. Rod finish and hardness heavily influence seal life and leak risk.
- Machine piston and gland. Create seal grooves, wear ring lands, threads, spanner features, bearing guidance surfaces and any porting or mounting interfaces.
- Deburr and clean thoroughly. Burrs cut seals. Debris introduced during build is a common root cause of early leakage and scoring. Cleanliness at this stage is critical.
- Install seals, wear rings and wipers. Build the seal stack in the correct order and orientation. Confirm materials suit the oil type, temperature and contamination risk.
- Assemble to controlled fits and clearances. Correct guidance and concentricity prevent side-load, heat build-up and premature wear. Locking methods and torque should be correct for the design.
- Functional check (movement and feel). The cylinder should stroke smoothly with consistent resistance, with no sticking, gritty feel or abnormal tight spots.
- Pressure test and sign-off. Verify leak-free operation, minimal bypass, correct stroke, and performance under working pressure (and where relevant, spikes).
2) Fits, finishes & tolerances (what matters most)
Many cylinder problems are not “bad seals”. They are fit and finish issues. Small deviations cause heat, leakage, drift and rapid wear.
Concentricity & alignment
If the rod and bore are not aligned, guidance takes side-load. That leads to scoring, bearing wear and seal failure.
Seal groove accuracy
Groove dimensions must match the seal system. Too tight runs hot. Too loose bypasses and leaks.
Surface finish
Rod and bore finishes control friction, heat and seal life. Rough surfaces chew seals. Poor finishes can cause weep and drift.
3) Quality checks: what “good” looks like
If you are buying, specifying or inspecting a cylinder, these are the checkpoints that matter.
Build-stage checks
- Clean parts with no burrs or sharp edges near seal paths
- Seal orientation correct (especially buffers and wipers)
- Smooth movement during dry assembly checks
- Correct locking methods and torque
- Ports and threads clean, with no swarf left inside
Performance signs
- Consistent resistance across full stroke
- No external leaks at gland, ports, welds or end interfaces
- Minimal bypass (reduced drift or creep under load)
- Clean oil after initial cycling (no debris release)
- Stable operation at working pressure
4) Pressure testing: what happens before dispatch?
Testing procedures differ by application, but the essentials are consistent: leak testing, functional checking and pressure holding.
External leak test
Check gland, ports, welds and end caps under pressure for visible leakage.
Stroke & function test
Confirm full stroke, smooth movement, correct speed response and no binding.
Hold or bypass check
Where relevant, check for internal bypass (drift or creep) under sustained pressure.
5) Common build mistakes that cause leaks, drift and early failure
These are the issues that repeatedly show up when cylinders fail soon after manufacture or rebuild.
Contamination during assembly
Swarf, grit or lint introduced at build stage damages seals quickly and can score rods and bores.
Incorrect fits or tight seal stack
Over-tight assembly or wrong grooves can cause heat build-up, rapid wear and leakage.
Wrong seal materials for the job
Temperature, oil type, speed and contamination environment must match the seal system and compounds.
Next: core resources in this knowledge hub
Continue building your understanding with these supporting pages.
Need a cylinder built or refurbished?
Hydraulic Online is the knowledge hub. For real-world cylinder manufacturing support, Completely Hydraulic can build OEM replacements and bespoke cylinders, plus full ram repairs, reseals, rod and barrel replacements.
- OEM replacements and bespoke cylinder builds
- Rod replacements, reseals and full ram rebuilds
- Pressure testing and certification available
- Cylinder builds are performed in the Essex depot and shipped anywhere in the UK
FAQs: how hydraulic cylinders are manufactured
What is the first step in hydraulic cylinder manufacturing?
Confirm the specification: bore, rod, stroke, mounts, ports, working pressure, duty cycle, environment and oil type. This drives material and seal choices.
Why is honing important for hydraulic cylinders?
Honing improves bore geometry and surface finish so seals bed in correctly, friction stays controlled, and the cylinder runs cooler with longer seal life.
What causes a new cylinder to leak quickly?
Common causes include contamination introduced during assembly, burrs damaging seals, incorrect groove dimensions, poor rod finish, or misalignment causing side-load and rapid wear.
What causes hydraulic cylinder drift?
Drift is often internal bypass across piston seals. It can also be influenced by control valves or system leakage, so confirm whether the cylinder or circuit is responsible.
Are all cylinders pressure tested before use?
Professional builds should be pressure tested and function checked before dispatch. Testing typically confirms external leak-free operation, smooth stroke, and stable performance at working pressure.